How to Paint with Color Pencils: A Fun Guide for Kids
Coloring with pencils can be an exciting and creative activity for kids. With the right guidance, little artists can turn simple ideas into colorful masterpieces! Here’s a fun and easy guide to help your child explore the world of painting with color pencils.
 Step 1: Gather Your Supplies
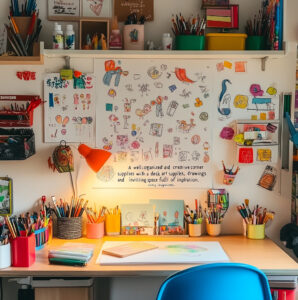
To start, you’ll need:
A box of color pencils (choose ones that are safe and non-toxic for kids)
Plain drawing paper or a coloring book
An eraser (just in case of small mistakes!)
A pencil sharpener
A soft cloth or tissue (to smudge or blend colors)
Pro Tip: Choose thick paper so the colors look brighter and don’t tear the sheet.
 Step 2: Learn to Hold the Pencil
Show your child how to hold a pencil gently but firmly. Encourage them to use their fingertips, not their fist. For very young kids, triangular or jumbo-sized pencils can be easier to grip.
 Step 3: Experiment with Pressure
Teach your child how to:
Press lightly for soft, pale colors.
Press harder for bold, bright colors.
Make it fun by drawing a sun and letting them color the rays lightly and the center darker.
 Step 4: Understand Pencil Types
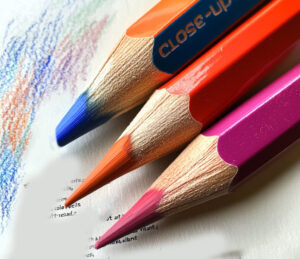
Color pencils come in two main types:
Soft Pencils: These have softer leads, which make it easier to blend colors and create smooth shading. They are perfect for drawing vibrant and detailed artwork.
Hard Pencils: These have firmer leads, making them ideal for drawing fine lines and intricate details. They are great for outlines and precise coloring.
You can also choose between:
Pointed Pencil Lead: Best for creating fine details and sharp lines. Keep the tip sharp using a good-quality sharpener.
Flat Pencil Lead: Perfect for filling in large areas quickly and creating unique textures. You can achieve this by lightly tilting the pencil sideways while coloring.
 Step 5: Color in One Direction
Encourage kids to:
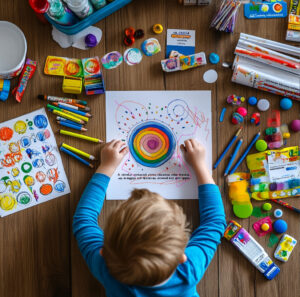
Color in one direction (e.g., left to right or up and down).
Avoid scribbling to make their artwork look neat and smooth.
Tip: Practice with simple shapes like circles or squares first.
 Step 6: Use Blending Techniques
Introduce blending to make the artwork more vibrant:
Finger Smudge: Gently rub colors together using a clean fingertip.
Layering: Start with a light color and add a darker shade on top.
Example: Blend yellow and orange for a glowing sunset effect.
 Step 7: Try Out Different Strokes
Teach these fun strokes:
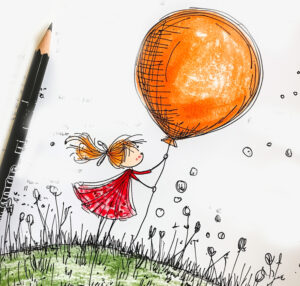
Small Circles: Great for coloring in round objects like balloons.
Short Lines: Perfect for drawing grass or hair.
Crosshatching: Crisscross lines to add texture to drawings.
 Step 8: Add Creative Details
Encourage kids to:
Draw patterns like dots, stripes, or zigzags.
Add tiny details like stars in the sky or flowers in a garden.
 Step 9: Keep It Fun and Positive
Celebrate every effort! Whether it’s a colorful scribble or a detailed drawing, praise your child’s creativity.
 Tips for Parents
Create a Calm Space: Set up a clean and well-lit area for coloring.
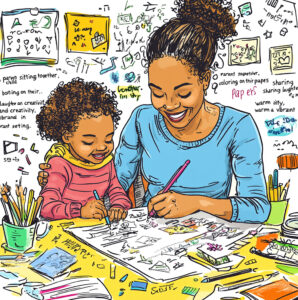
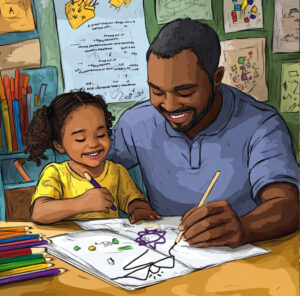
Join the Fun: Sit and color with your child; it’s a great bonding activity.
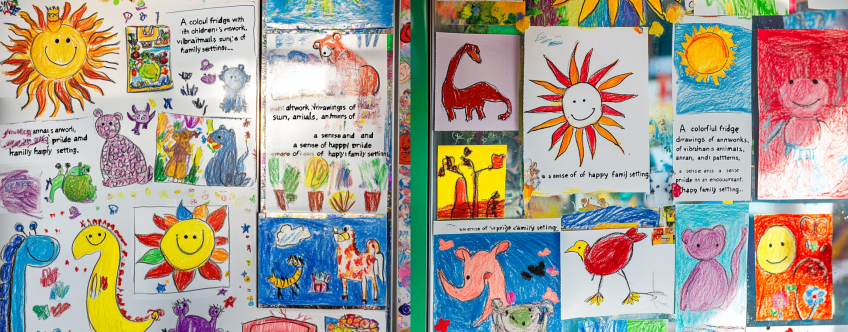
Display Their Art: Hang their creations on the fridge or a special wall to boost their confidence.
Don’t Rush: Let your child take their time to explore and enjoy the process.
Conclusion
Coloring with pencils is more than just fun; it builds fine motor skills, boosts creativity, and encourages self-expression. With this guide, you can turn a simple activity into a magical journey of colors for your child. Grab those pencils and start creating today!

